
ARCKIT Model 22
“Great design is a multi-layered relationship between human life and its environment.”
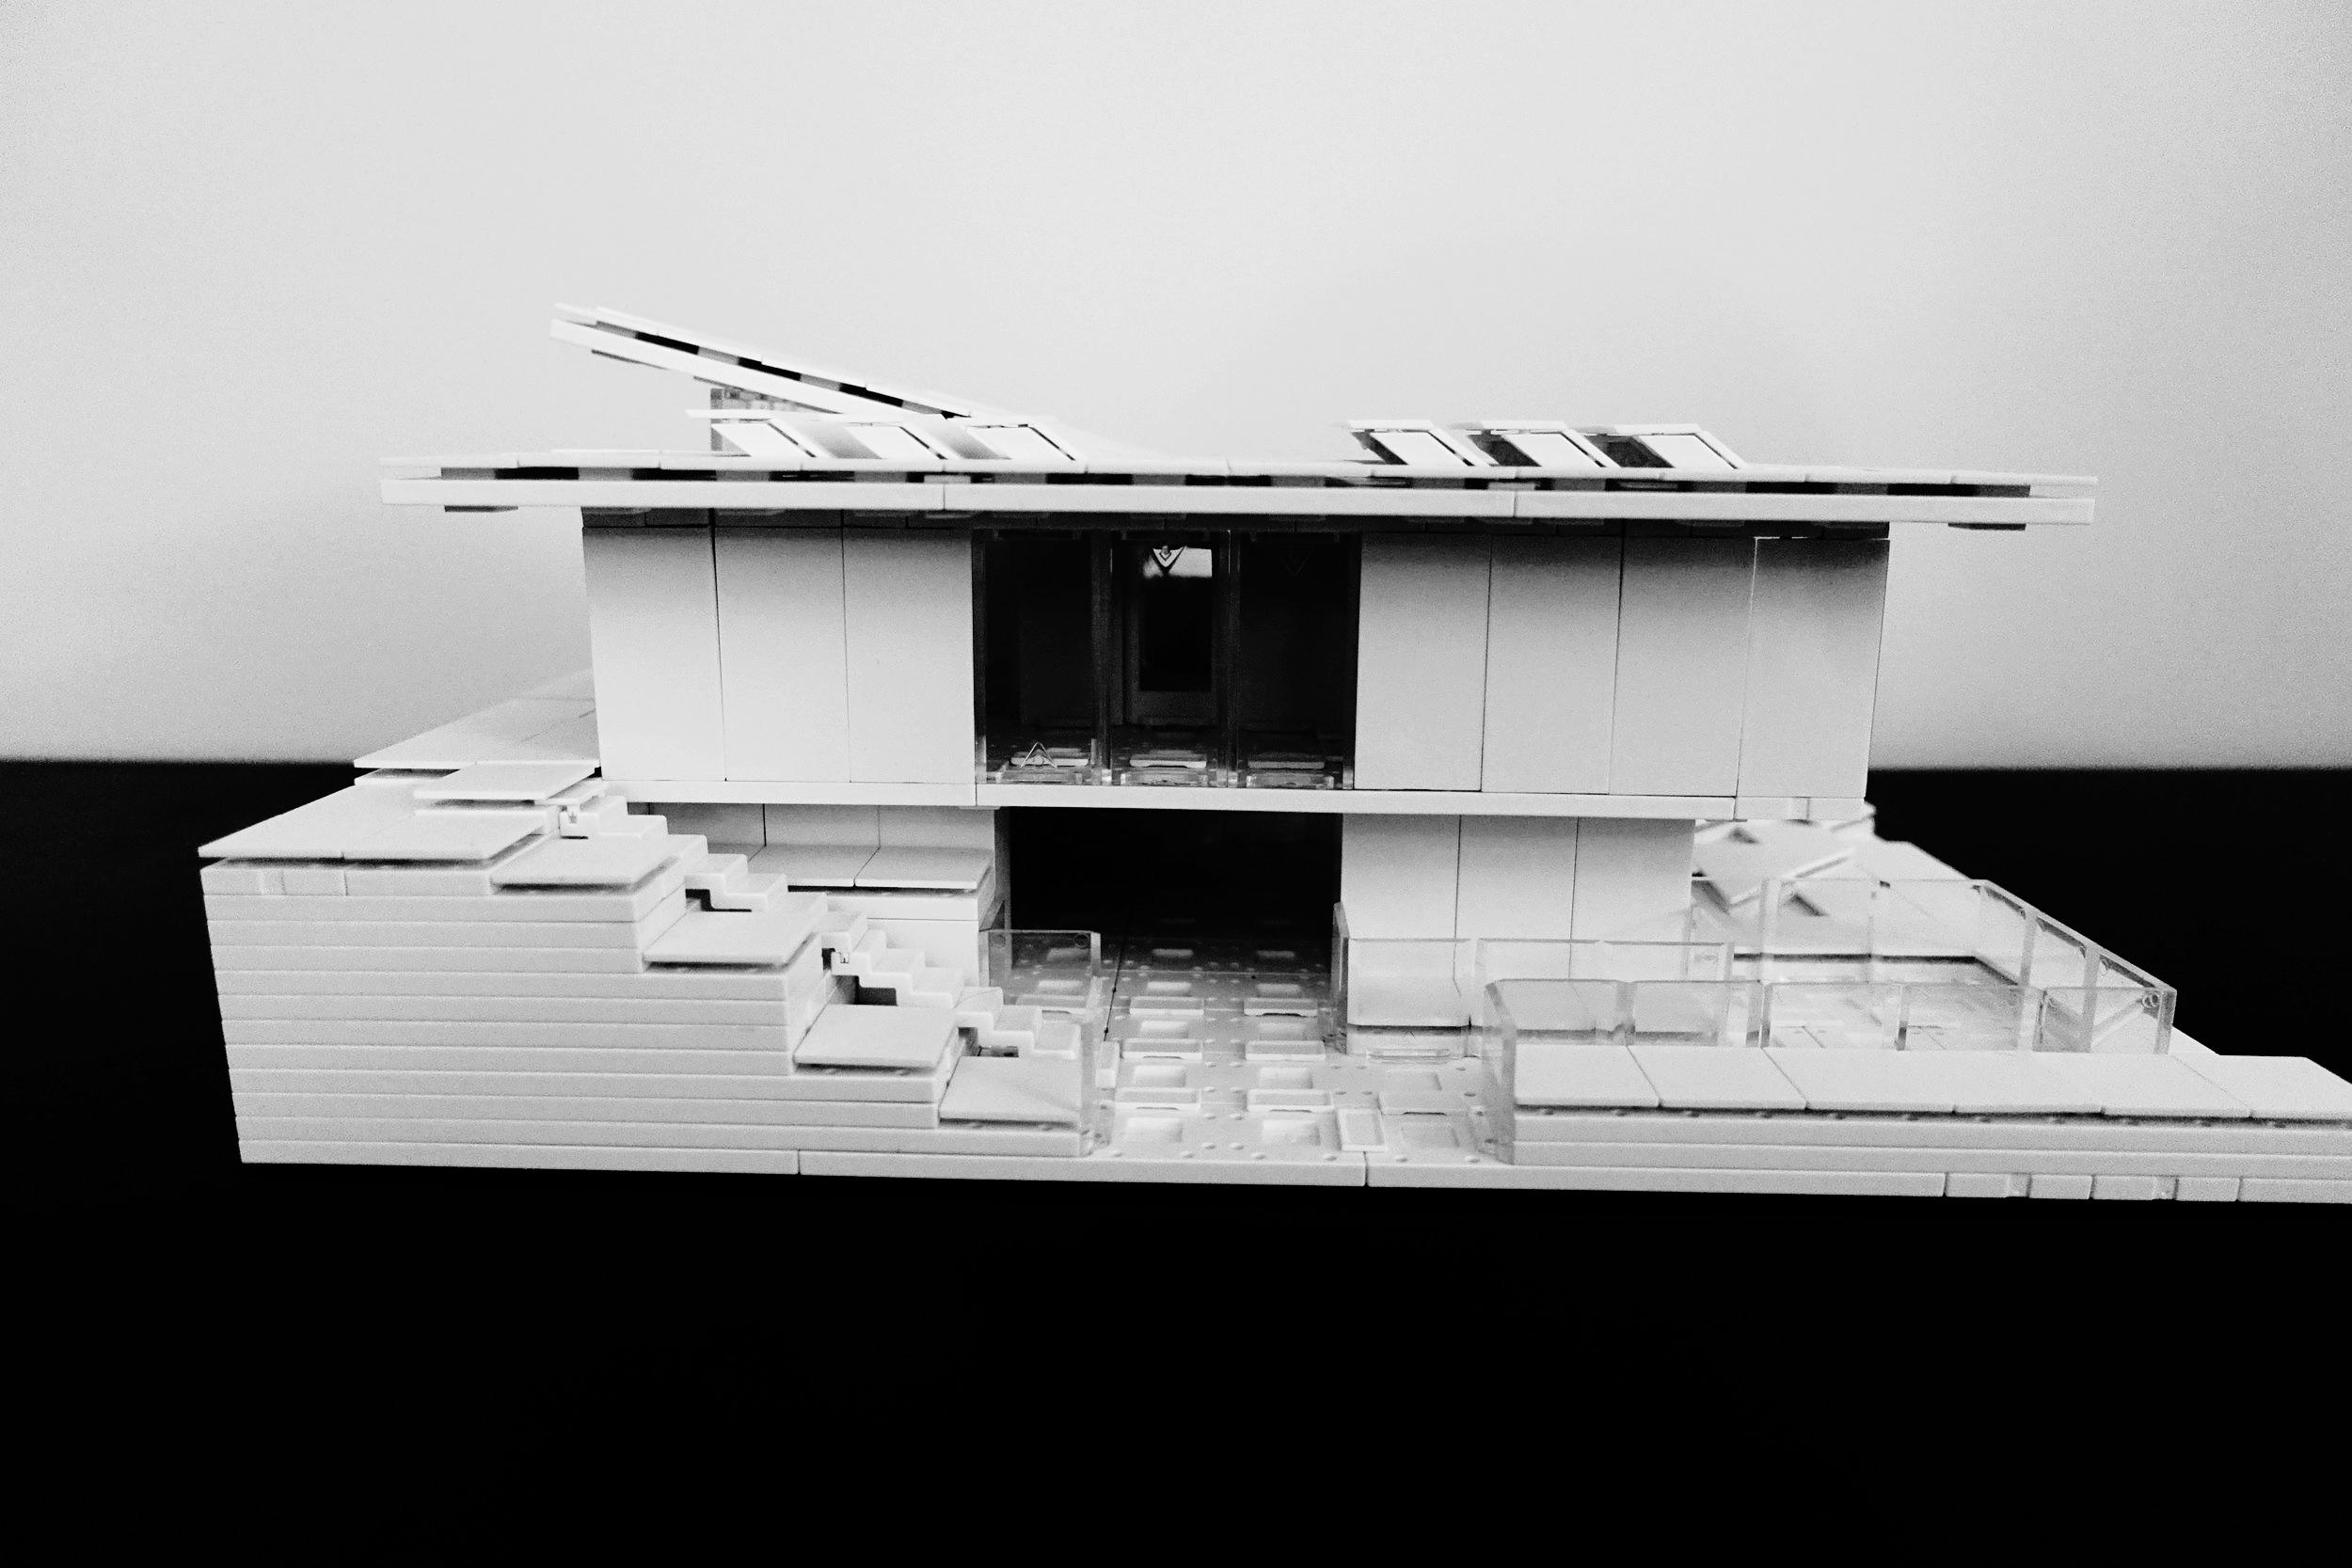
Front facade and view lower patio space.
Project Details
Model of the Cut and Fill.
Today I present Arckit Model 22, a residential green home where I use Arckit, a modular component system to build the structure as well as the topography. Since I created this overall project, I've been wanting to create structures that blend in with their environment. Model 22 is an excellent example of this concept where the home is submerged below street level facing a valley. As a modern styled luxury home, the building emphasizes sustainable concepts while not sacrificing amenities and atmosphere. With a contrasting roof that allows for rain water collection and also interior ventilation, the model program creates two simultaneous experiences. While there is no central core, the MEP equipment are all layered very close together to limit excess materials. Water storage, composting, and a solar array are all hidden from the street, giving the home a clean and modest look. There is a sense of vibrancy where celebrated moments pop, where the building provides the resident with a unique experience while providing for itself. I hope that anyone interested in building topographical landscapes with Arckit can learn from my upcoming models and feel inspired to push your kits further! In this blog post, I would like to guide you through my thought process when building this model.
Creating the Lower Floor Plan.
In my mind, I wanted to create a home where the front and back yards would be on two separate elevations planes. Unlike model 21, I started creating a base where I started to outline two individual rectangular spaces. One space, the one closest two the street (North) would be two stories tall and the other space (South) would be only one story. There would be an exterior space separating the two in which a large sloping roof would cover the entire two structures. As I began to define this idea a bit more and think about sustainable concepts and space optimization, my idea had a lot of wasted/unusable space for its relative "cut and fill." With this in mind, I made two big changes. I created an indoor link between the bottom two spaces (East) and expanded the top floor (West) to bridge and cantilever over both lower spaces.
Creating the Top Floor Plan.
This effectively divided my model where the east side would stick with the idea of a sloped roof and the west side would be pitched flat. After I completed this new design, I then stacked floor components around the model creating that sloping change in topography. With left over pieces, I extended the land around the model and created an outdoor patio environment on the west side.
Close up view of the two separate roof moments.
Overall, this was a very successful model where I just let my imagination take me to the final product. With Arckit, Its very easy to test out ideas quickly. I was able to rapidly prototype as fast as new ideas were flooding my mind. Almost like drawing, you'll notice that I will place down pieces to act as markers, while I continue to develop other ideas. This visual and kinetic representation is extremely powerful.
Diagramming


Photo Gallery


Video Documentation
Notes
If you have any questions, suggestions or comments, I would love to hear from you in the comments section below or through email at rikysongsu@gmail.com.
For more information regarding Arckit visit www.arckit.com or to see all the models visit www.rikysongsu.com/model
Thank you!