
ARCKIT Model 21
“There are two ways of spreading light: to be the candle or the mirror that reflects it.”
Project Details
Today, I present Model 21, an experimental Residential Home. I hope that anyone interested in building topographical landscapes with Arckit can learn from my upcoming models and feel inspired to push your kits further! Since I started this project, I've been trying to incorporate topography and landscape into my designs to add some complexity to the project but, lacked experience and parts. A big part of architecture in not only the building but, the land it sits on. When building low impact structures, a lot of effort goes into the landscape design, minimizing the cut and fill, blending the structure with the environment and working towards creating vibrancy with celebrated moments.
One of my goals in this overall 52 model project is to move physical modeling to the front of the design process. By following my basic routine of just seeing where things go, it was much harder than I expected to design the home and topography in my head without sketching anything out. Having only a general thought of what I wanted, designing it to fit with an topography was a challenge. To streamline the process, I started building the home with the idea that I would rest it on an inclined landscape. As seen in the video documentation below, I worked through this design by creating all the spaces above ground. I then flipped the model over on its side and started building "underground". While not really efficient, it allowed me to visually understand what I was doing. I then brought the ground up to touch and surround the entire model. I did this by continually stacking the standard Arckit floor plates up around the model to reach the front door.
At the time of writing this blog, I already have my next couple of models completed. I can say that I am much better now at building topographies! In the next Model 22, I hope to explain in depth, my thought process and give more insight to building a topography first and then setting a model into it rather than the other way around. I hope to reach a level of competency where I would be able to design a build where the home and the topography could be easily separated. Overall this was a great and challenging experimental model and I really liked how it turned out.
Diagramming


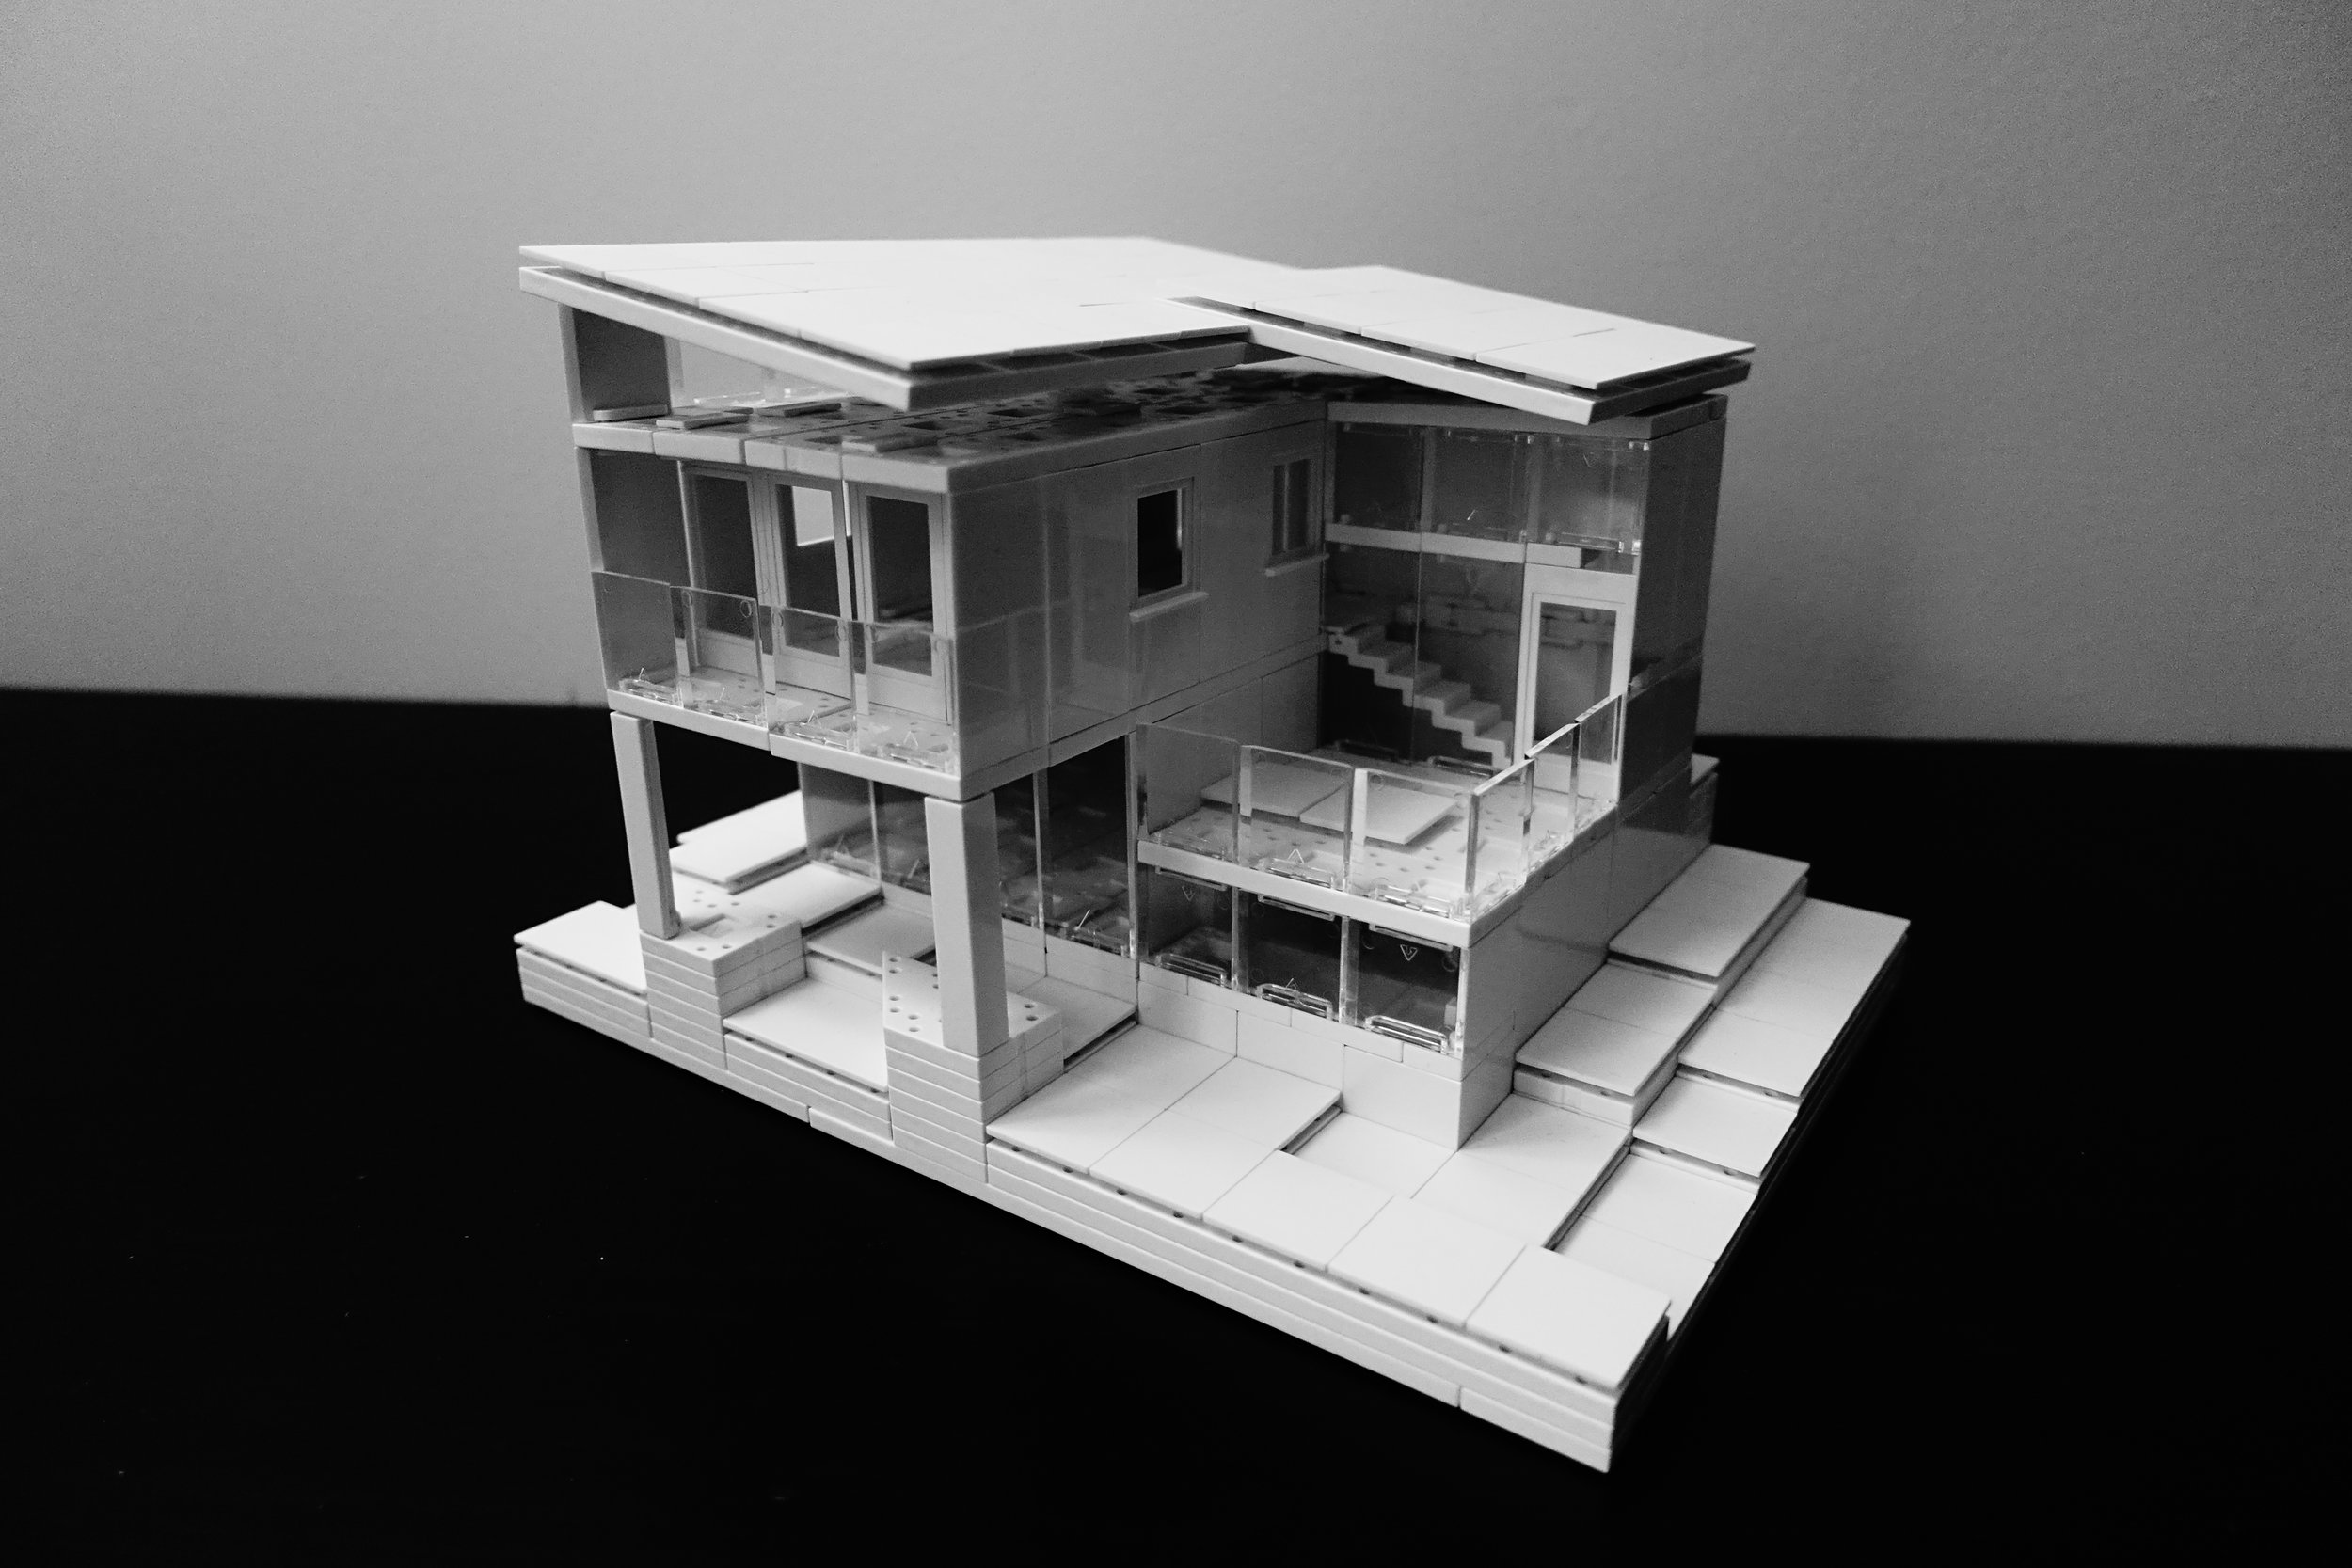
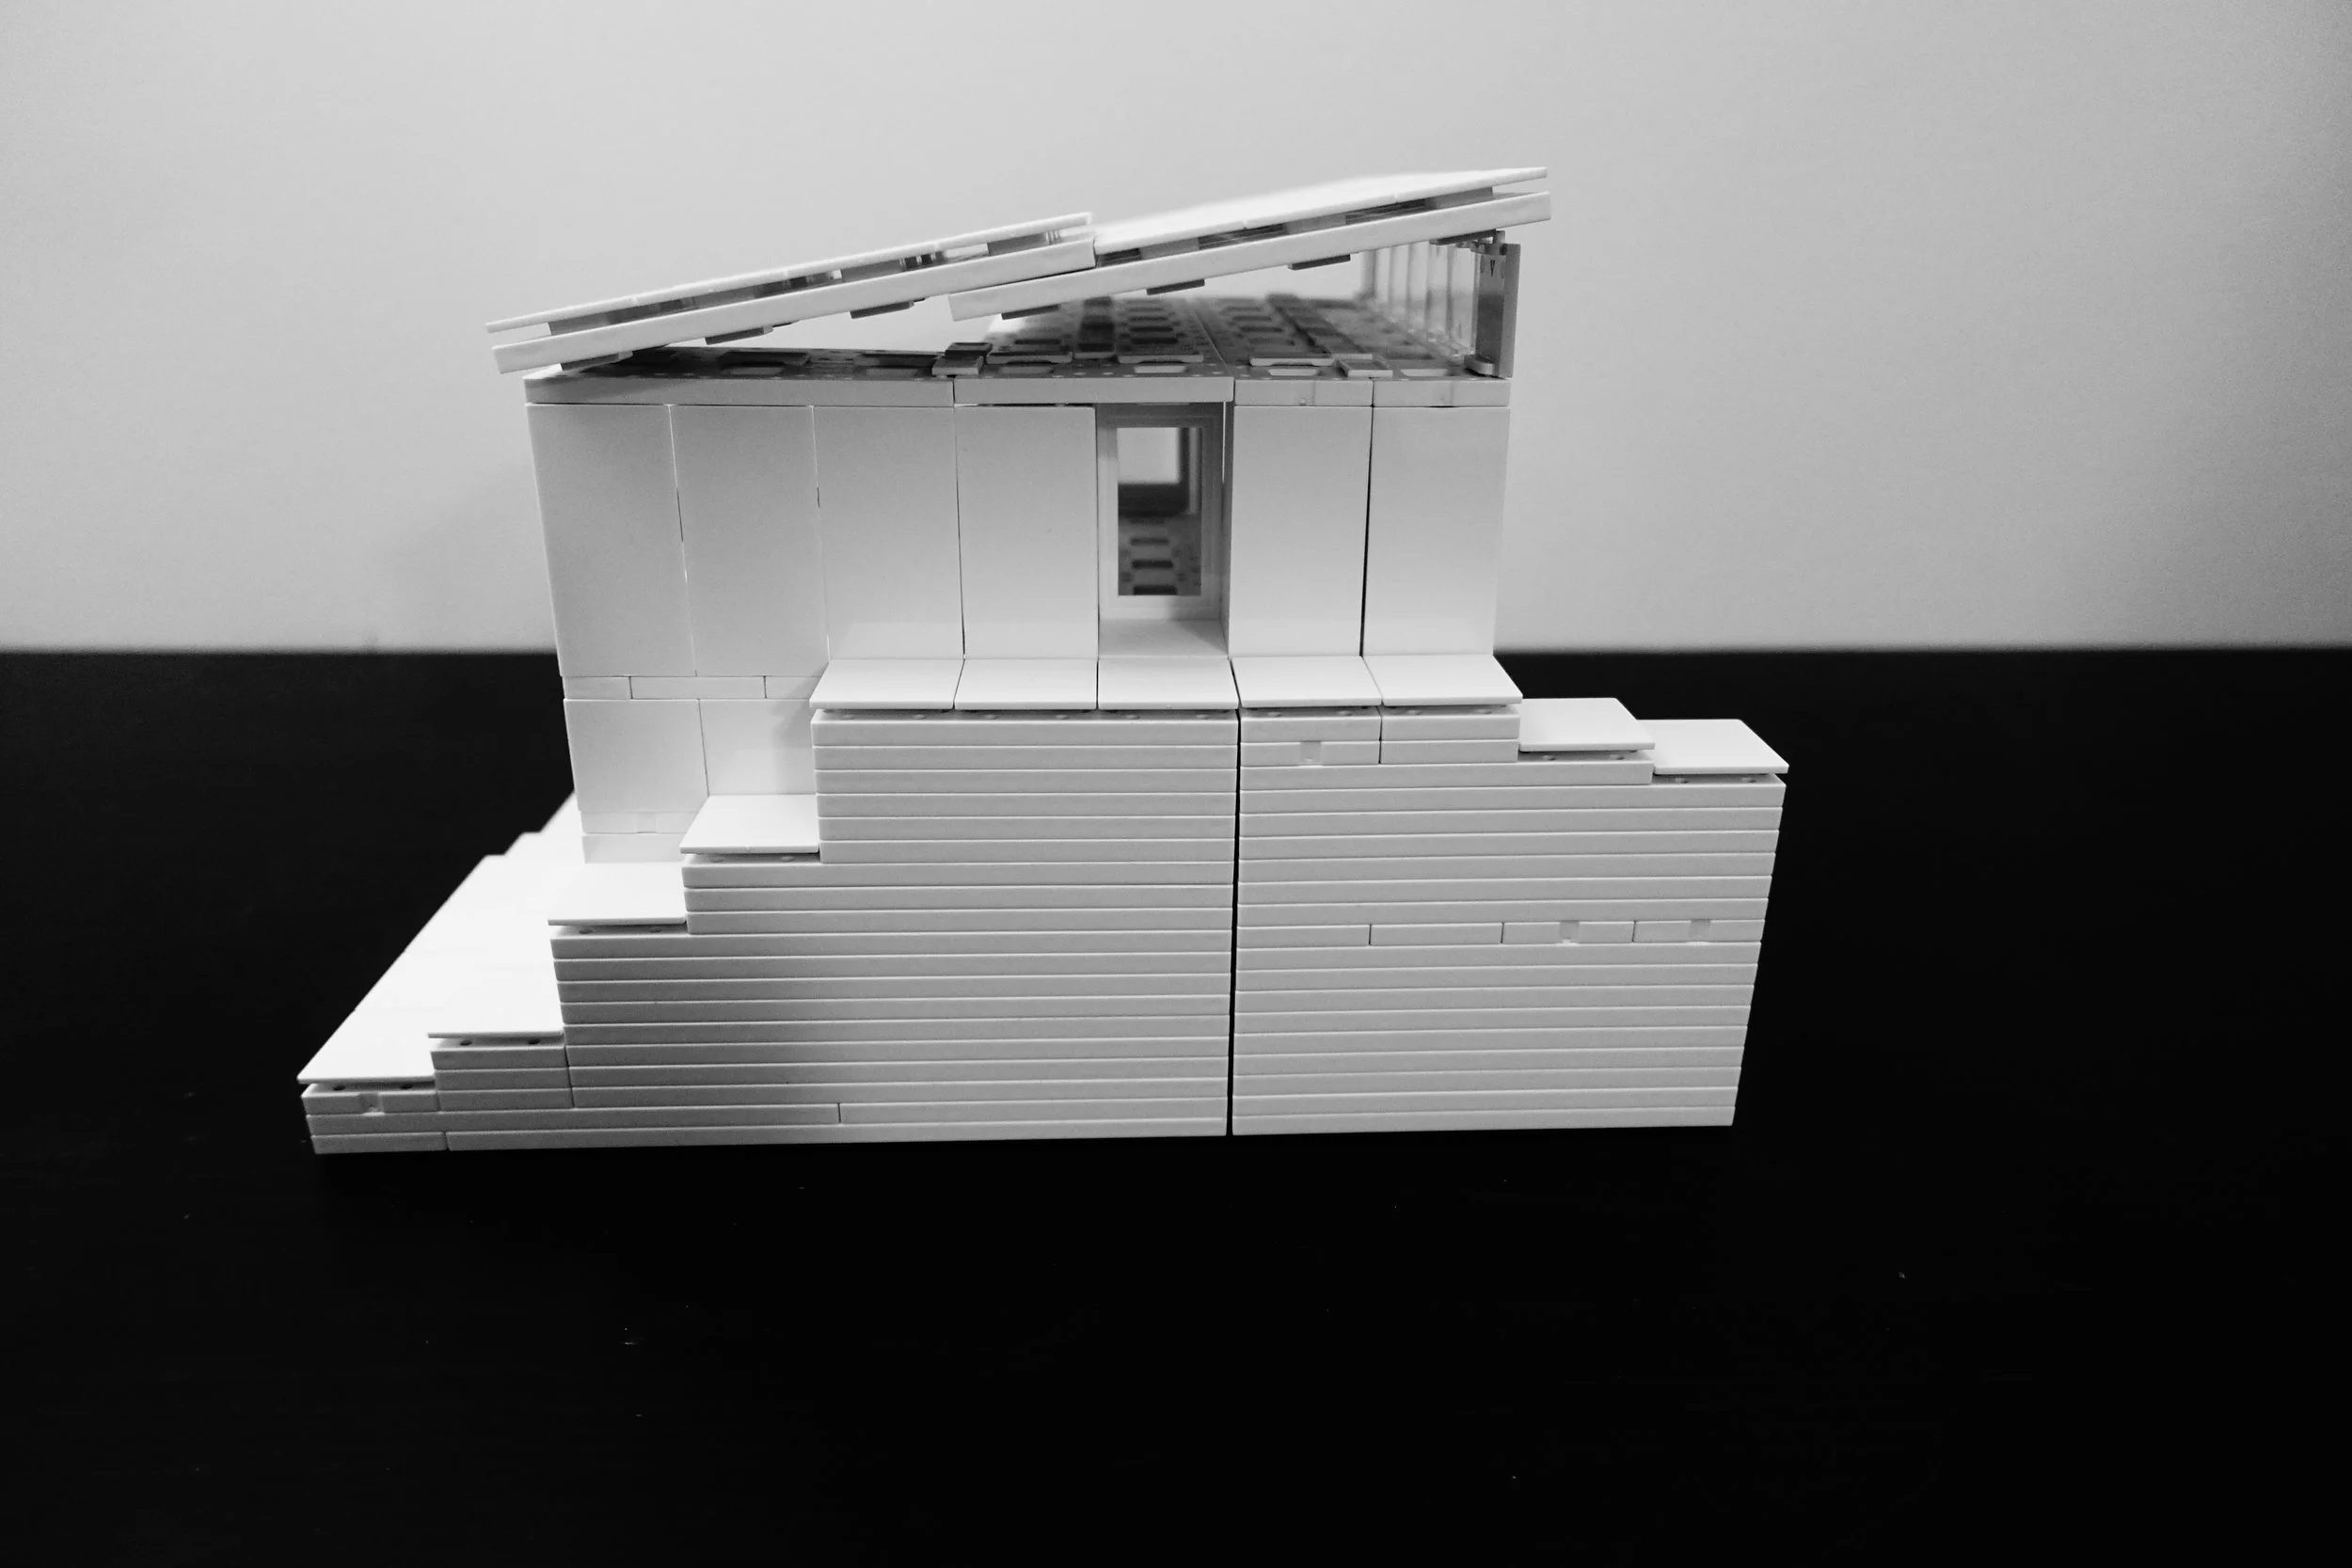
What I really like about this model is the programming of space. A standard home usually has its public areas on the lower floors and private areas up top. Since this was my first topographic model and I built from the top down, the programming was unintentionally flipped but, in the end it worked out really well. On street level, one enters the residence and is met by the living, kitchen and dining rooms. On the left is a large staircase that goes down three levels. Heading down these stairs one floor, there is an entrance to an outdoor deck as well as the restroom and smaller bedrooms. Heading further down leads to the Master bedroom which is half under ground. In the diagramming photos above I try to show the break up of spaces as well as the topography models, mapping the cut and fill. Besides the roof, anything that is tiled represents the ground and foundations.
Photo Gallery


Video Documentation
Notes
If you have any questions, suggestions or comments, I would love to hear from you in the comments section below or through email at rikysongsu@gmail.com.
For more information regarding Arckit visit www.arckit.com or to see all the models visit www.rikysongsu.com/model